Resurrecting Clippy
Remember Clippy? First shipped with Windows 97, Clippy was a “smart” assistant for Microsoft Office. A selfless shape-shifting paperclip who would appear out of nowhere to help you in any way it could. And how did you treat Clippy? Yeah, you should be ashamed of yourself. You either loved or hated Clippy. Spoiler: after a lot of backlash, Microsoft secretly ran a smear campaign against its own little paperclip, including an anti-Clippy Website, a “Kill Clippy” game, and more. “I see you’re trying to destroy me, would you like help with that?” Clippy said. Eventually retiring Clippy to fanfare, Microsoft masterfully spun your anger into positive press. Shame on all of you.
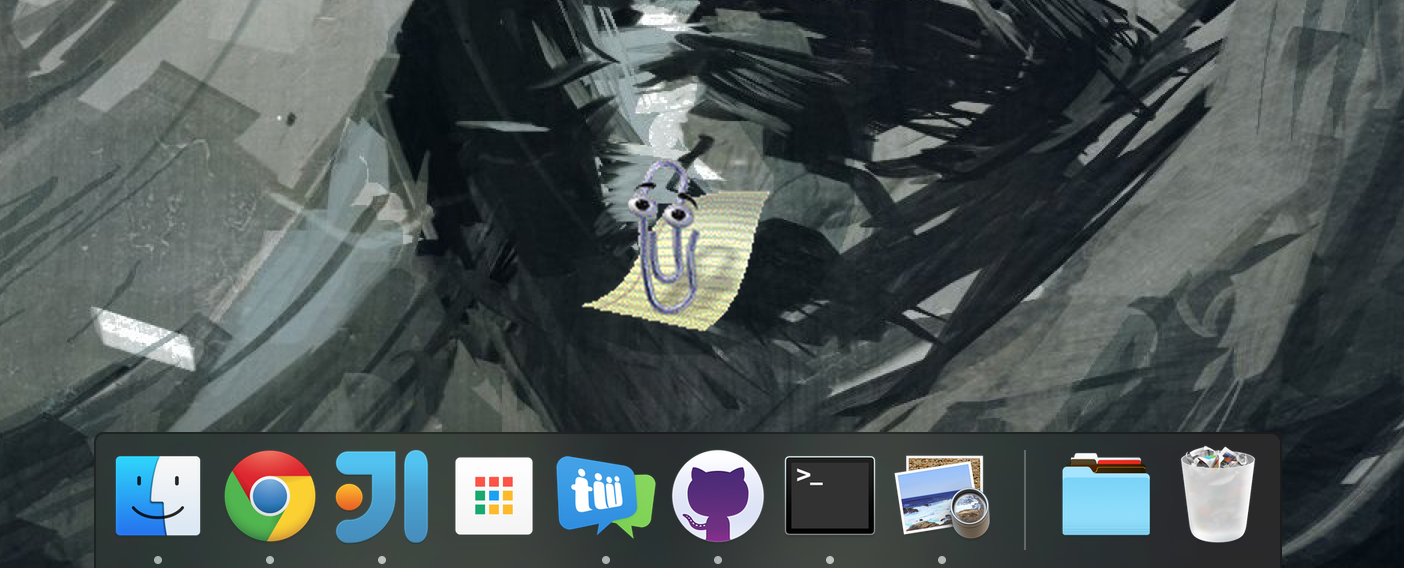
I’m sure you’ve only recently stopped having guilt-ridden nightmares of a dancing paperclip, but I’ve good news. I’ve made a desktop application which not only brings Clippy back to Windows, but introduces Mac and Linux users to 90’s Siri too! Clippy.desktop is available for download at teamwork.github.io/clippy.desktop.
Why? Because I can. There’s just something satisfying about seeing Clippy on Windows 10 or El Capitan. It wasn’t even hard; I feel like an imposter for simply throwing together a few open-source things, so I’m going to use this an opportunity to share how easy it is to make a desktop app with NW.js (and a few pitfalls). For extra measure, here’s an embarrassing photo of me as a child:

Look at those curls.
Desktop (Web) apps
Quickly moving on, NW.js was an obvious choice to make the app as we built the Teamwork Chat desktop apps with it. NW.js, along with the trendier Electron, combines Chromium and Node.js to allow you to create a desktop application from a Web application. So the resultant executable is a standalone appplication just like Chrome which has access to all of the Node.js API as well. It’s great.
It doesn’t take long to get up and running either. You technically don’t need Node.js to develop an NW.js app, but I’ll assume you have it. First, grab the offical npm package; run npm install -g nw to make it available from anywhere on your machine. In a new directory named clippy-desktop, create a HTML file with whatever content you'd like. All we need now is an "app manifest"; run npm init and follow the steps the generate one. Enter the name of your HTML file when asked for the main file. Why npm init? The app manifest is basically the same as any npm module's package.json (where its dependencies are listed, and so on.). So, now you have a basic manifest looks something like this:
{
  "name": "clippy-desktop",
  "version": "0.0.1",
  "main": "index.html",
  "dependencies": {}
}
Now, run nw clippy-desktop.
Ta-da! Your app is running. If you don’t believe me, click the hamburger icon in the top right to access the DevTools and inspect the HTML.
Hello, Clippy!
Ok, ok, I’ll get to Clippy already. All credit to Smore for creating a HTML, CSS, and JavaScript implementation of clippy in a weekend; ClippyJS is impressive! Let’s use it in our app.
Smore recommend downloading the CSS and JavaScript files from the ClippyJS GitHub repository, but let’s use this as an oppurtunity to learn how using dependencies from npm works. npm is Node.js’ package manager we used earlier to install nw. ClippyJS isn't on npm (yet) but it is on GitHub and npm allows us to install it straight from GitHub by running npm install --save smore-inc/clippy.js. That would work but if the ClippyJS repository wasn't missing the manifest every Node.js module needs. So I've forked the ClippyJS repository and added the package.json (note that I've added jQuery under dependencies). Now, running npm install --save adam-lynch/clippy.js#pkg will install ClippyJS into clippy-desktop/node_modules. To include ClippyJS we have to reference the CSS and JavaScript files just like we would in any Web app, adding <link href="node_modules/clippy.js/build/clippy.css" rel="stylesheet"/> and <script src="node_modules/clippy.js/build/clippy.min.js"></script> to the correct files.
Note: Just in case you’ve noticed that Clippy.desktop’s index.html doesn't reference each file like I've just said; I've combined the dependencies into third-party.js just to make it cleaner, similarly to what's described in Hassle-free third-party dependencies.
The ClippyJS site says we’ll need to programatically show Clippy ourselves, so let’s create a script.js with the following contents:
clippy.load('Clippy', function(agent) {
    agent.show();
});
To resurrect Clippy:
- Make sure you’ve added a
<script>linking to yourscript.js. - Kill the running app.
- Run
nw clippy-desktopagain.
What now?!
Huh. It’s not working. Open the DevTools and check for any errors. Hmm…
Failed to load resource: net::ERR\_FILE\_NOT\_FOUND
Ah, the problem is this line in the ClippyJS source:
clippy.BASE_PATH = '//s3.amazonaws.com/clippy.js/Agents/';
The main ClippyJS file seems to be requesting more scripts from Amazon S3. See that the URL begins with // That's a protocol-relative URL, i.e. if the current site was accessed over HTTPS, HTTPS will be used as the protocol when requesting this URL, or HTTP if the site was accessed over HTTP. But the protocol in our case is neither HTTP nor HTTPs; our index.html is a local file and accessed as such. In our case, this URL would be expanded tofile:///s3.amazonaws.com.... So if you want your Web app to work on the desktop, avoid protocol-relative URLs. To fix this line, you would need to have something like the following:
clippy.BASE_PATH = (window.location.protocol === 'file:' ? 'https:' : window.location.protocol) + '//s3.amazonaws.com/clippy.js/Agents/';
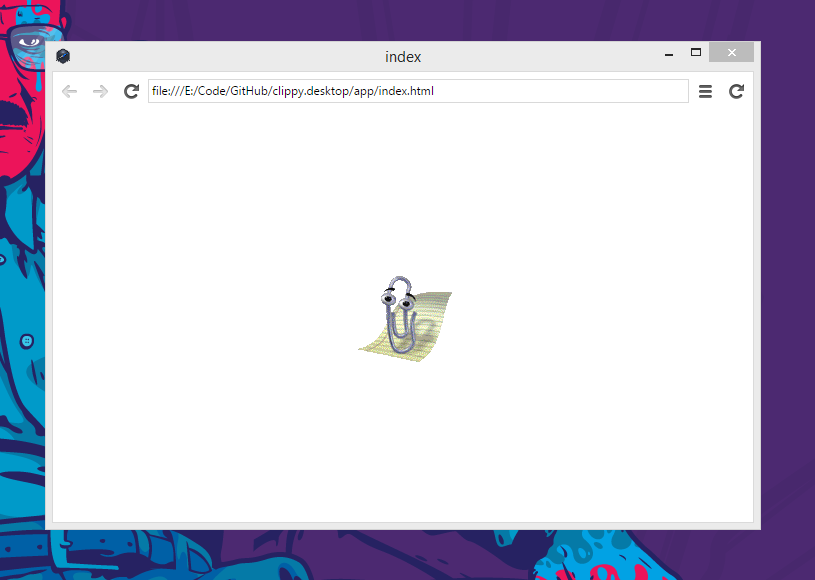
So, after I updated this in my fork of ClippyJS, I re-ran the npm install command and re-launched the app.
Think outside the box
It could be prettier though right? Let’s start by making the window a bit smaller, removing the frame, and removing the toolbar (the search bar, etc.). Add the following to the app manifest:
"window": {
  "frame": false,
  "toolbar": false,
  "width": 300,
  "height": 300
}
That’s it.
Although if you’re on Mac OS X you’ll notice there’s a weird bug where the window title is still shown. To workaround this, we can give the window a dummy title. We only want to do this if the app is running on Mac though, so let’s use Node.js’ core os module to detect the platform. Adding this to our script.js should be enough to solve the problem:
var isMac = require('os').platform() === 'darwin';

if (isMac) {
    document.title = '\u3000'; // to get around https://github.com/nwjs/nw.js/issues/3645
}
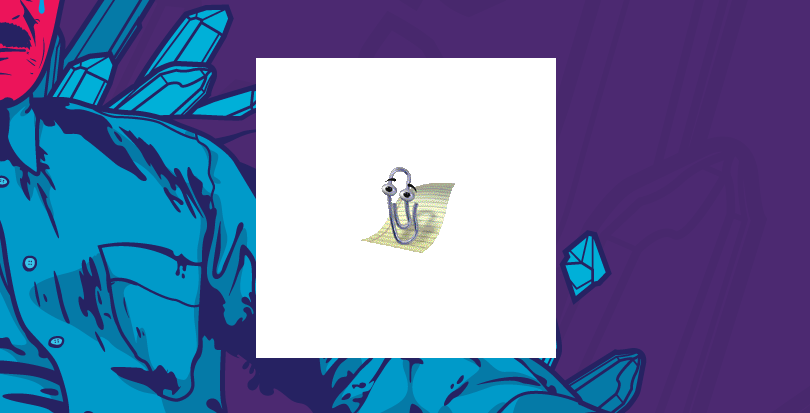
The frameless app.
Ok, it’s better but let’s ditch that background.
Transparency
Let’s go back to our manifest and add a transparent property inside window;
"window": {
  "frame": false,
  "toolbar": false,
  "width": 300,
  "height": 300,
  "transparent": true
}
This gives the app the ability to be transparent, but doesn’t make it transparent. This can be toggled programmatically as well. Note: depending on the platform, you may need to jump through some extra hoops, see Transparency and NW.js. All that’s left is to make sure your elements are not
All that’s left is to make sure your elements are not opague; for example:
body {
  background: transparent;
}
Dragging
We no longer have a window title bar so we can’t drag it around anymore. CSS to the rescue, again!
body {
  -webkit-app-region: drag;
}
Now you can drag the app by clicking and holding anywhere on the body.
Unfortunately, double-clicking a draggable area triggers the window to maximize on some platforms. So what we’ll do is tell the user that double clicking will close clippy.desktop, thanks to clippy.js’ agent.speak method which shows a speech bubble. Just to annoy the user even more, we won’t. Instead, Clippy will disappear and reappear again after a couple of seconds. This is done in the clippy.load callback:
// show clippy
clippy.load('Clippy', function(agent){
    agent.show();
    var intiialSpeechTimeoutId = setTimeout(function() {
        agent.speak("Need some help closing me? Try double-clicking...");
    }, 20000);

    var windowX = null;
    var windowY = null;
    setTimeout(function(){
        windowX = win.x;
        windowY = win.y;
    }, 250);

    // ...

    // Since double-clicking draggable areas triggers maximizing on some platforms, when tell the user double-clicking
    // closes clippy but actually we'll hide the window, unmaximize, resize back to the normal size and show again
    // with a speech bubble
    win.on('maximize', function(){
        document.body.classList.add('hidden');
        win.hide();
        if(intiialSpeechTimeoutId) {
            clearTimeout(intiialSpeechTimeoutId);
            intiialSpeechTimeoutId = null;
        }

        setTimeout(function(){
            win.unmaximize();
            win.resizeTo(gui.App.manifest.window.width, gui.App.manifest.window.height);
            win.moveTo(windowX, windowY);
        }, 250);

        setTimeout(function(){
            win.show();
            document.body.classList.remove('hidden');
            setTimeout(function(){
                agent.speak("Need some help?");
            }, 500);
        }, 2000);
    });
});
Events
Speaking of clicking, we also block clippy.js from adding any event handlers itself with jQuery;
$.fn.on = function(){};
This is before clippy.load is called. We want to handle clicks and everything else ourselves.
Animating Clippy on click should be easy right? You might not be aware but if a window is not focused on Mac OS X, the first click focuses the window and the second click actually clicks the element. This is expected behavior on Mac OS X. Note: This is why you never create HTML window controls and bars when using NW.js or Electron, as it would take two clicks to minimize a window for example.
This is why I use the window’s focus event instead. Whenever the window is focused, I trigger an animation and blur the window.
// to be safe: use focus as a click handler kinda, to trigger animations. Blur when done so every click triggers
// an animation
win.on(‘focus’, function() {
  agent.animate();
  win.blur();
});
Note: Cross-platform support for blurring isn’t 100% solid so it’s best to just trigger an animation every once in awhile anyway as well.
I see you have no internet connection
If you’re offline, clippy.desktop doesn’t show anything. Why? Let’s take a look at the line in clippy.js again:
clippy.BASE_PATH = (window.location.protocol === ‘file:’ ? ‘https:’ : window.location.protocol) + ‘//s3.amazonaws.com/clippy.js/Agents/’;
Why is it doing anything at all with URLs? I’m not sure why it wasn’t bundled into one script but ClippyJS requests additional (remote) scripts from within the base clippy.js script. This doesn’t make sense for a desktop app.

Mental mode
This is where you come in. This implementation is just a start. Feel free to improve it in a pull-request. After all, it’s just HTML, CSS, and Javascript. I’m not suggesting that you add a mode which makes Clippy disappear on mouseover, reappear elsewhere, jump around the place, driving the user insane. Definitely not.
TL;DR
- It’s easy to make a desktop (Web) app with NW.js.
- You can access all of Node.js, its module system and npm.
- Don’t use protocol-less URIs.
- Be aware of how Mac OS X treats clicks on unfocused windows.
- Make sure your app works offline.
- Have fun.